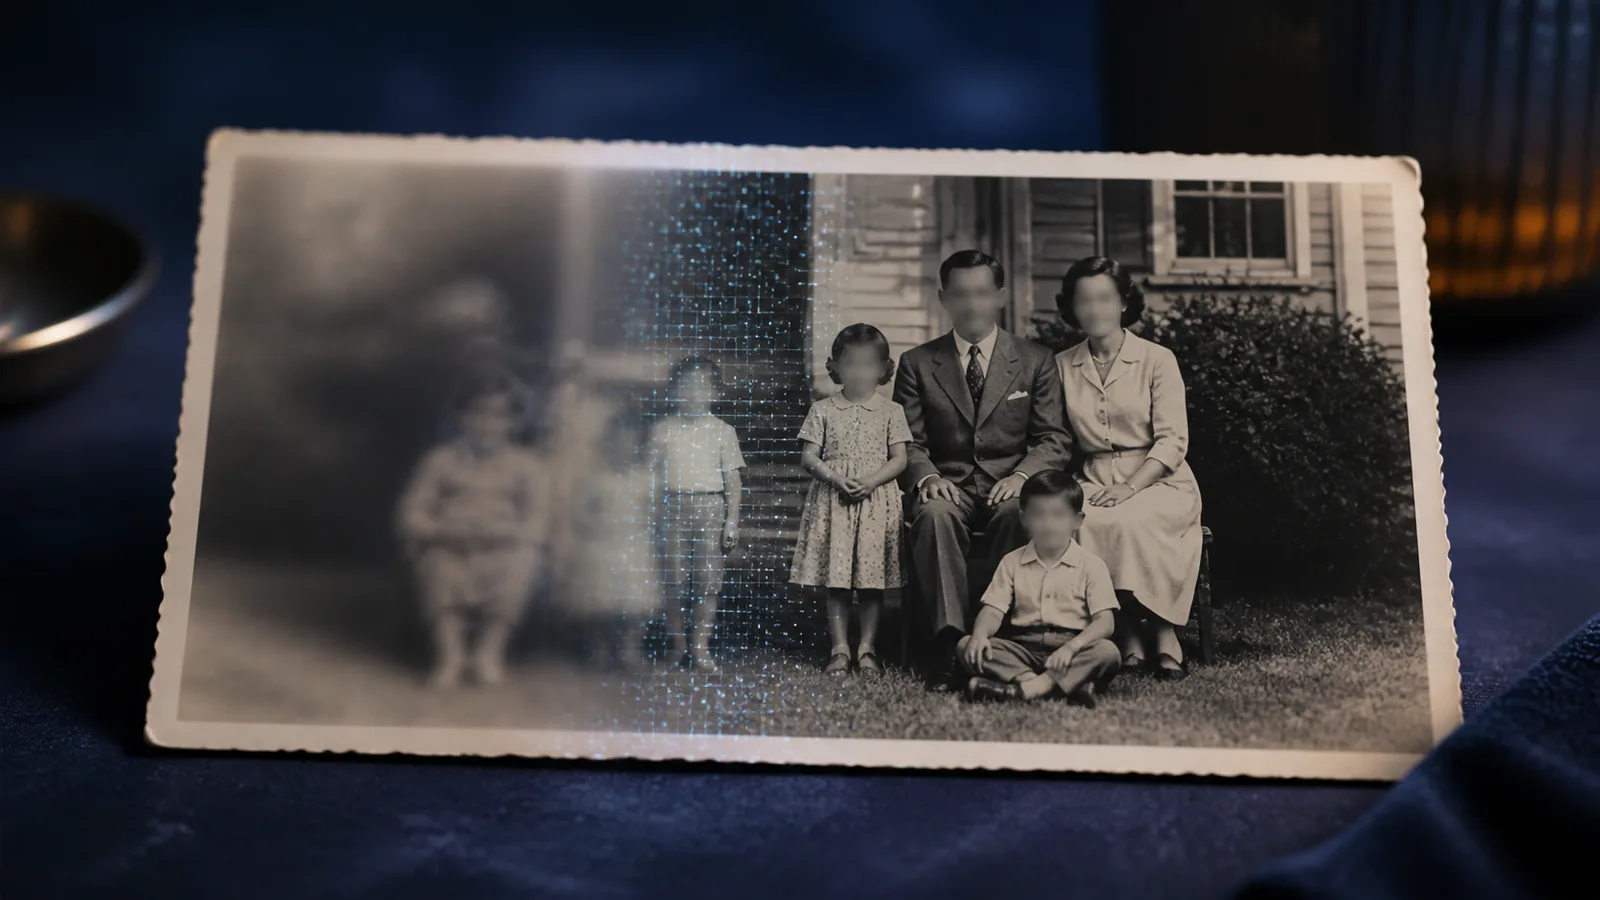
You can often make a blurry photo look clearer, but the right method depends on why it is blurry. A low-resolution image, a missed-focus portrait, camera shake, JPEG compression, and an aged scan may look similar at first glance, yet they contain different kinds of damage.
AI enhancement can improve edge definition, reduce distracting artifacts, and generate plausible texture. It cannot guarantee an exact reconstruction of information that the camera or scanner never captured. The safest workflow is to diagnose the problem, start from the best source, enhance once, and compare identity-sensitive details with the original.
Quick answer: how do you fix a blurry photo?
Follow this order:
- Find the original image rather than a screenshot or chat-app copy.
- View it at 100% and identify blur, pixelation, compression, or noise.
- Decide whether you need a clearer viewing copy, a larger image, or a faithful archival restoration.
- Use an AI image upscaler when the photo is low resolution or contains recoverable structure.
- Choose an output size appropriate for the final use.
- Inspect faces, text, edges, and repeating patterns for invented detail.
- Keep the original file and save the enhancement as a new copy.
If the photo is completely out of focus, no tool can recover the exact missing pixels. A model may create a believable face or texture, but believable is not the same as authentic.
Why is your photo blurry?
Before choosing a tool, examine the image at 100% zoom. The shape of the defect usually points to its cause.
Low resolution and pixelation
A low-resolution image does not have enough pixels for the size at which you are viewing or printing it. Curves become stair-stepped, faces lose small features, and square pixels or blocks become visible.
This is the most direct use case for an image upscaler. The model can enlarge the image and reconstruct plausible edges and texture. Results are generally stronger when the source still has recognizable shapes and clean boundaries.
Missed focus
When the camera focused in front of or behind the subject, important detail was never recorded sharply. Mild focus softness can often be made more legible. Severe defocus, where eyes or letters are smooth shapes with no internal structure, cannot be faithfully reversed.
Sharpening may increase contrast at existing edges, but it does not automatically restore the correct eyelashes, facial features, or lettering.
Camera shake or motion blur
Camera shake often creates a directional trail across the whole frame. Subject motion may blur only a moving person, hand, vehicle, or animal while the background remains sharp.
Light motion blur can sometimes be reduced. Strong trails involve information spread across many pixels, so an AI result may be an interpretation rather than a reliable reconstruction.
JPEG compression
Repeated JPEG saving and aggressive web compression can cause blocky regions, ringing around edges, color smearing, and noisy borders around text. These artifacts are especially visible in screenshots, graphics, and photos downloaded from messaging apps.
An enhancer may clean up the appearance, but the better solution is to locate the original file before compression whenever possible.
Noise and low-light softness
High ISO noise, small phone sensors, and poor lighting can produce colored speckles and weak detail. Heavy noise reduction may then smear hair, fabric, and skin into flat areas.
Upscaling can improve presentation, but it needs enough underlying structure to distinguish real texture from noise.
Old-photo and scanning damage
An old print may combine faded contrast, paper texture, dust, scratches, blur, and a low-quality scan. Upscaling addresses resolution and visual restoration; it does not physically repair the print or guarantee historically accurate missing detail.
For an important photograph, make the highest-quality scan you can and preserve it as the archival master before creating an enhanced copy.
Match the symptom to the likely fix
| What you see | Likely cause | Is AI upscaling a good fit? |
|---|---|---|
| Square blocks and stair-stepped edges | Low resolution or JPEG compression | Often, especially from a recognizable source |
| Mild softness across the subject | Slight focus error or resizing | Often worth testing |
| Directional streaks or doubled edges | Camera shake or subject motion | Limited; inspect the result carefully |
| Unreadable face with only a few pixels | Severe information loss | High risk of invented identity |
| Halos around text or objects | Previous sharpening or compression | May improve, but avoid more sharpening |
| Dust, scratches, and faded paper | Old print or scan damage | Upscaling helps size; full restoration may need more work |
| Clean small illustration or logo | Insufficient resolution | Can work well, but verify exact shapes and text |
This diagnosis prevents a common mistake: applying more sharpening to an image whose real problem is compression or missing resolution.
What AI can and cannot restore
AI restoration is useful because it can predict visually plausible detail instead of merely enlarging each existing pixel. That prediction is also its main limitation.
AI can often improve
- edge definition around recognizable objects;
- the appearance of low-resolution hair, fabric, foliage, and architecture;
- blocky or soft presentation caused by enlargement;
- the usability of a small image on a larger display;
- visual consistency in compressed regions.
AI cannot guarantee
- the exact identity of a severely blurred face;
- the correct letters in unreadable text;
- historically accurate jewelry, clothing texture, or background objects;
- evidence-grade license plates or documents;
- detail that was completely clipped, obscured, or never captured.
For family archives, journalism, research, legal material, or any identity-sensitive photo, label the result as enhanced and keep the untouched original. Treat generated detail as an interpretation unless it can be verified from another source.
Prepare the best source file
Input quality has more influence than a clever export setting. Before uploading:
- Ask for the original camera file or scan.
- Avoid a screenshot of a photo displayed inside another app.
- Download the original attachment rather than a preview thumbnail.
- If you have the physical print, scan it again instead of enlarging an old web copy.
- Do not sharpen, denoise, and recompress the file in several apps first.
- Keep an untouched copy with its original filename and metadata.
If several copies exist, compare dimensions and visible compression. The largest file is not automatically the best, but a clean original usually contains more usable information than a repeatedly shared version.
How to fix a blurry photo with SeedVR2
The SeedVR2 image upscaler provides a browser-based workflow for JPG, PNG, and WebP images.
1. Upload the original image
Open the restore tool, select image mode, and upload the best version you found. For multiple images, keep each photo as a separate file so that you can inspect the results individually.
2. Choose a target resolution
The current tool offers 720p, 1080p, 2K, and 4K target resolutions.
- Choose 1080p for a small web or screen image when you want a restrained first pass.
- Choose 2K when you need more editing or layout flexibility.
- Choose 4K for a large display, a high-resolution project, or a source that has enough structure to support a larger reconstruction.
The largest target is not always the most faithful. If a small face changes noticeably at 4K, compare it with a lower target.
3. Choose an output format
- PNG is useful when you plan to edit again or need clean graphic edges.
- WebP is efficient for websites and online delivery.
- JPG is widely compatible for photographs but should not be repeatedly saved at low quality.
Format does not fix blur by itself. It controls how the restored result is stored and delivered.
4. Review the credit estimate
The tool shows an estimated credit cost before processing. Cost depends on media dimensions and the selected target. See the pricing and credit guide before running a large batch.
5. Process and save a new copy
Start the restoration, download the result, and keep it next to the original with a clear filename such as family-photo-enhanced.webp. Do not overwrite the only original.
6. Inspect the result at 100%
Zoom in on:
- eyes, teeth, ears, and hairlines;
- fingers and jewelry;
- signs, labels, and printed text;
- fences, fabric, brickwork, and repeating patterns;
- high-contrast edges where bright halos may appear.
Then zoom back out. A result can look slightly imperfect at 100% yet still be better at its intended viewing size. The reverse is also possible: impressive micro-texture may look unnatural in the full portrait.
Recommended workflow by photo type
Portraits and family photos
Identity matters more than maximum sharpness. Compare the shape of the eyes, mouth, hairline, face, and distinctive features. If the person begins to look different, choose a smaller target or keep the softer result.
Old prints and scans
Preserve a high-quality scan first. Use enhancement to make a viewing or sharing copy, and do not erase the distinction between a restored interpretation and the archival source.
Product photos
Check logos, stitching, surface grain, labels, and repeated patterns. AI may create an attractive texture that does not match the real product. Accuracy is more important than dramatic detail for commerce.
Anime, illustration, and digital art
Inspect line weight, flat colors, eyes, hair, and diagonal edges. A clean low-resolution illustration can enlarge well, but compression around line art may turn into wavy or doubled contours. See the guide to fixing diagonal artifacts in AI upscaling for a closer look at these patterns.
Screenshots and interface images
Text and one-pixel lines must stay exact. If the original interface or document is available, export it again at the correct size instead of reconstructing a screenshot. Use AI only when the source cannot be recreated.
Social-media images
Try to obtain the pre-upload original. Social platforms may resize and compress images, and screenshots add another generation of loss. Enhancing the platform copy should be a fallback.
How to avoid over-sharpening and fake details
Over-sharpening increases local contrast until edges appear hard. Common warning signs include:
- bright or dark halos around a face, building, or text;
- brittle hair that looks like wire;
- crunchy skin and exaggerated pores;
- noisy texture in smooth walls or skies;
- double edges around high-contrast objects;
- patterns that look sharp but change meaning.
Use this review method:
- Place the original and enhanced file side by side.
- Match their on-screen display size before judging overall clarity.
- Inspect critical details at 100%.
- Ask whether the new detail is supported by the original.
- Prefer the more natural result when two outputs are similarly useful.
Do not keep feeding an enhanced image back into the upscaler. Repeated processing increases the chance that generated texture becomes stronger than the original content.
Choosing the right output for web, sharing, and print
For a website, export only as large as the layout needs and use WebP when it fits your workflow. A 4K image is unnecessary for a small card and can slow the page if it is not resized or compressed.
For messaging and social media, keep a high-quality master outside the platform because the uploaded copy may be compressed again.
For print, work backward from the physical size and required pixels. Upscaling can help a small file meet a layout requirement, but inspect faces and fine text before treating the output as a faithful print master.
Common mistakes when fixing blurry photos
Treating every blur as low resolution
More pixels do not automatically reverse missed focus or long motion trails. Diagnose the shape of the damage first.
Starting from a thumbnail
A thumbnail or screenshot may have discarded most of the useful information. Search for the original attachment, camera file, or scan.
Assuming sharper means more accurate
AI can generate crisp eyelashes, fabric, or lettering that was not visible in the source. Sharpness is a visual property; accuracy requires evidence.
Choosing 4K for every image
A lower target may preserve identity and texture more naturally. Compare outputs instead of treating the largest resolution as the automatic winner.
Saving over the original
Keep restoration non-destructive. The original may be needed for a better model, a professional restoration, or historical verification later.
Frequently asked questions
Can a completely blurry photo be made clear?
It can sometimes be made more recognizable, but severe blur removes information. Any crisp face or text generated from a featureless region should be treated as a prediction, not a guaranteed recovery.
What is the difference between blur and pixelation?
Blur spreads or softens detail, while pixelation reveals the coarse pixel grid of a low-resolution image. A photo can contain both, especially after it has been enlarged and compressed.
Can AI accurately restore a blurry face?
AI can produce a plausible face when enough structure remains. The fewer original pixels available, the greater the risk that identity-specific features will change. Always compare with other verified photos when identity matters.
Does increasing resolution remove blur?
Not by itself. Ordinary resizing increases dimensions but does not reconstruct meaningful detail. AI restoration may improve perceived clarity, but the result still depends on the source.
Should I save the result as PNG, WebP, or JPG?
Use PNG for further editing or crisp graphics, WebP for efficient web delivery, and JPG for broad photo compatibility. Keep a high-quality master and avoid repeated lossy JPG saves.
Can a compressed screenshot be restored?
It can often be made easier to view, but exact text and one-pixel interface elements may remain unreliable. Re-exporting the original screen or document is better whenever possible.
Test one photo before processing the full collection
Start with a representative image in the online image upscaler. Compare more than one target resolution when the source is small, inspect sensitive details, and keep the result only when it improves clarity without changing what matters.
Related guides:
- How to remove JPEG artifacts before upscaling images
- AI upscaling vs. sharpening: choose the right operation and order
- Fix diagonal lines and texture artifacts in images
- How to upscale video to 4K without losing quality
- Use SeedVR2 without installing ComfyUI
- How to enlarge an image for printing without losing quality
- Upscale ecommerce product images without changing the product