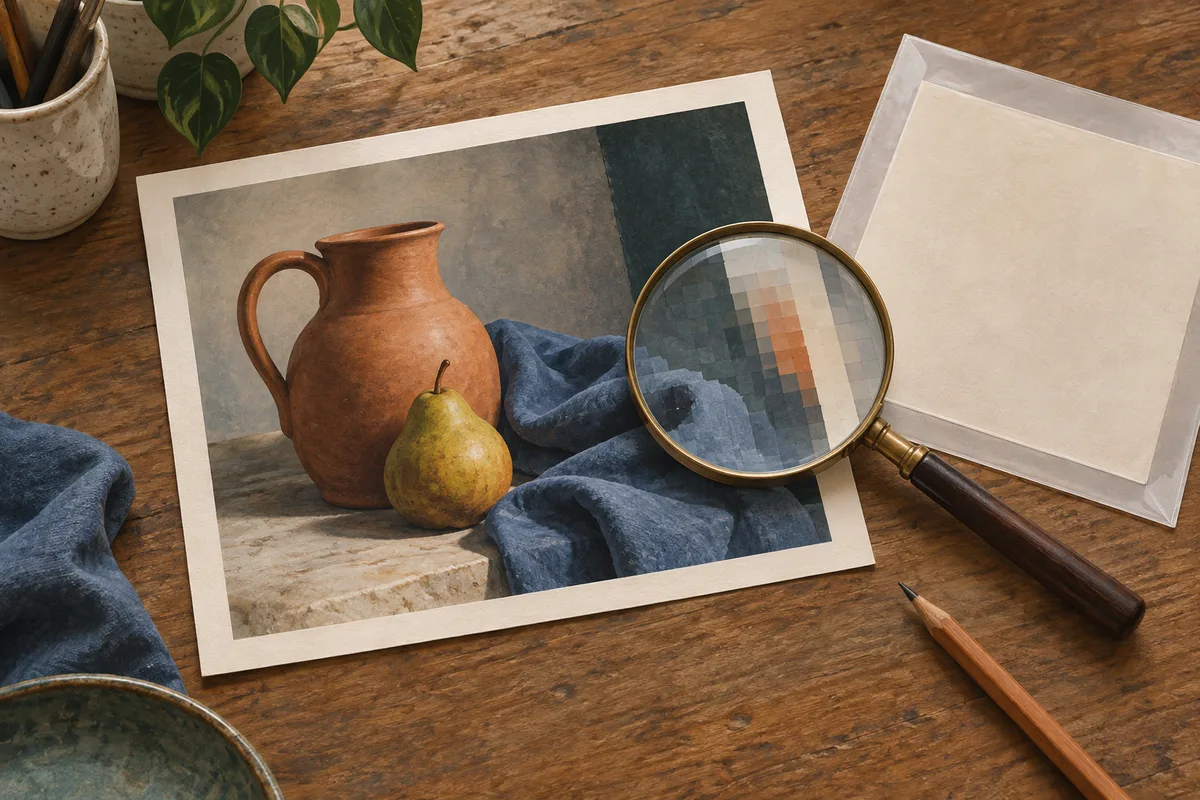
An image looks acceptable as a thumbnail. Enlarge it, and the wall breaks into blocks while a dark outline grows a fuzzy fringe. The problem may be compression damage rather than simple lack of sharpness.
To reduce JPEG artifacts before upscaling, find the least-compressed source, preserve it, and compare a lightly cleaned copy with direct restoration. Judge both at the intended output size. Do not smooth away facial features, lettering, or fabric just to make a flat background look perfect.
The cover is a conceptual illustration of compression damage, not a real filter comparison. This workflow is for photographs and mixed images; editable graphics often have a better route through re-exporting the original design.
Identify compression damage before reaching for sharpening
Open the actual file in an image editor at 100%. Then compare with its intended display size. Zooming far beyond that can help locate a defect, but should not become the only acceptance test.
| Visible symptom | Possible cause | Useful first check |
|---|---|---|
| Rectangular patches across a flat wall or sky | Compression artifacts | Compare an earlier or original copy |
| Ripples or speckles around a dark edge | Compression ringing or earlier processing | Inspect the same edge before any added sharpening |
| Broad softness without a repeating block pattern | Low resolution or missed focus | Check dimensions and the original capture |
| Fine random grain over the whole photograph | Image noise | Compare noise cleanup rather than treating every speck as JPEG damage |
| Deliberate square shapes or stepped illustration edges | Pixel art or intended styling | Preserve the design instead of automatically smoothing it |
A PNG can still contain JPEG damage if somebody converted an already compressed image. The extension describes the current container, not the history of every pixel. Likewise, a large file is not proof of a good source.
If the main problem is broad blur, the blurry photo guide offers a more suitable starting point. Adding sharpening to obvious blocks may simply emphasize the blocks.
Find the best source and keep it untouched
Check the camera original, earlier export, cloud original, or file supplied by the photographer. For your own graphics, reopen the design file and export at the required dimensions. Avoid starting with a screenshot of a preview when the original download is available.
Adobe's JPEG format guide explains that JPEG compression discards image information and can damage fine edges. Work from the best original instead of repeatedly recompressing a previously exported copy.
Save that source unchanged and create a working copy. Converting it to PNG can avoid another lossy JPEG encode during later edits, but cannot bring back discarded detail. Do not rename the extension as a substitute for actual conversion.
Set a realistic target before cleaning anything
Measure the intended placement and crop. An 800 × 600 image enlarged to 1600 × 1200 needs twice the width and height, or four times the pixels. That calculation says nothing about how much genuine new detail a model can recover.
If the existing dimensions are sufficient, test cleanup without making the file larger. If the destination is a print, calculate the final crop and pixel requirement using the printing enlargement guide.
Pick three inspection areas: a smooth gradient, a face or textured surface, and a high-contrast edge. Write down what must remain recognizable. Those areas become your comparison checklist.
Compare direct restoration with gentle preparation
Avoid committing to a long chain of filters before seeing one useful comparison. Start every candidate from the same preserved source.
| Candidate | Processing path | What it tells you |
|---|---|---|
| Reference | Ordinary resize to the final comparison size | How the original looks without generative reconstruction |
| Direct | Source → AI restoration and enlargement | Whether a separate cleanup stage is necessary |
| Prepared | Source → light artifact reduction → AI enlargement | Whether preparation helps without removing useful texture |
If your editor includes a JPEG artifact filter, begin with its mildest useful setting. Adobe documents a dedicated JPEG artifacts removal filter with adjustable strength in Photoshop. It is one example of an editor feature, not a control available in SeedVR2.
Do not add heavy sharpening during this first comparison. Keep the prepared intermediate in a lossless format when practical. If cleanup removes eyelashes or turns woven fabric into flat paint, reduce the treatment or discard that candidate.
The prepared route is optional. A restoration model may already address some compression damage, and preprocessing can erase information it would otherwise use. Let the image decide whether the extra step is worthwhile.
Test the enlargement in SeedVR2
Open the SeedVR2 image upscaler, select image mode, and upload the working JPG/JPEG, PNG, or WebP file. Compare the direct and prepared versions using the same target and output format.
Choose an appropriate displayed target: 720p, 1080p, 2K, or 4K. Review the credit estimate, process one image, and check the downloaded dimensions. The target follows the source proportions; it is not an arbitrary custom width and height. Selecting a target below the source size is not a command to shrink it.
For a comparison copy that will receive further edits, PNG is an available output option. It avoids adding a lossy JPEG saving step at that point, but does not guarantee that the restored content is correct. The website does not expose a dedicated JPEG-artifact strength slider, so perform controlled local cleanup in your editor when needed.
Bring the result back into your editor and compare all candidates at the same displayed size. Choose by the subject's fidelity, not by file size or how dramatic the preview looks.
Protect faces, lettering, and repeated patterns
Examine eyes, teeth, hairlines, fabric patterns, labels, and straight edges. A cleaner-looking output may have replaced ambiguous pixels with a plausible detail that was never in the source.
For a label or logo, compare the actual characters and spacing. If you own an editable design, re-export its text or vector elements cleanly and combine them in the final layout. Do not accept invented lettering simply because it is readable. For product photos, use the additional checks in the ecommerce image guide.
Also inspect the smooth areas. Less blockiness is useful; new banding, waxy skin, halos, or painted texture are reasons to step back. Check the finished layout as well as 100% crops. A tiny remaining artifact may matter less than an altered expression.
Export from the selected master
Keep the preserved original and your selected editing master. Make delivery copies from that master instead of repeatedly downloading, resaving, and enhancing the last small JPEG.
Choose the delivery format and quality for the destination, and reopen the exported file to check it. WebP can be either lossy or lossless, as described in Google's compression overview; the .webp extension alone does not prove a lossless export. If a website recompresses uploads, inspect its displayed version too.
Apply only the finishing sharpness that helps at the final dimensions. The upscaling versus sharpening guide explains why stronger edge contrast is not a substitute for removing compression damage.
Frequently asked questions
Does converting JPEG to PNG improve its quality?
It does not reverse existing compression damage. PNG is useful as a working format because later saves need not add another lossy JPEG compression step.
Should I remove JPEG artifacts before AI upscaling?
Compare direct restoration with light preparation. Keep the preparation only if it reduces distracting artifacts while retaining useful source detail. It is not a mandatory step for every image.
Can AI restore the exact original texture or text?
It cannot verify detail that the compressed file no longer contains. Use an original photograph or editable artwork when precision matters, and reject results that alter important features.
Why does the enlarged image still look blocky?
The source may be too damaged, or enlargement may have made existing defects easier to see. Try a better original or a more modest output size. Repeatedly enlarging the rejected output is unlikely to provide a trustworthy reference.
Test one difficult image before processing a collection
Choose a photograph containing both a flat background and fine detail, compare it with SeedVR2, and retain the version that improves the intended display without changing the subject. A faithful, slightly imperfect image is often more useful than a flawlessly smooth reconstruction.