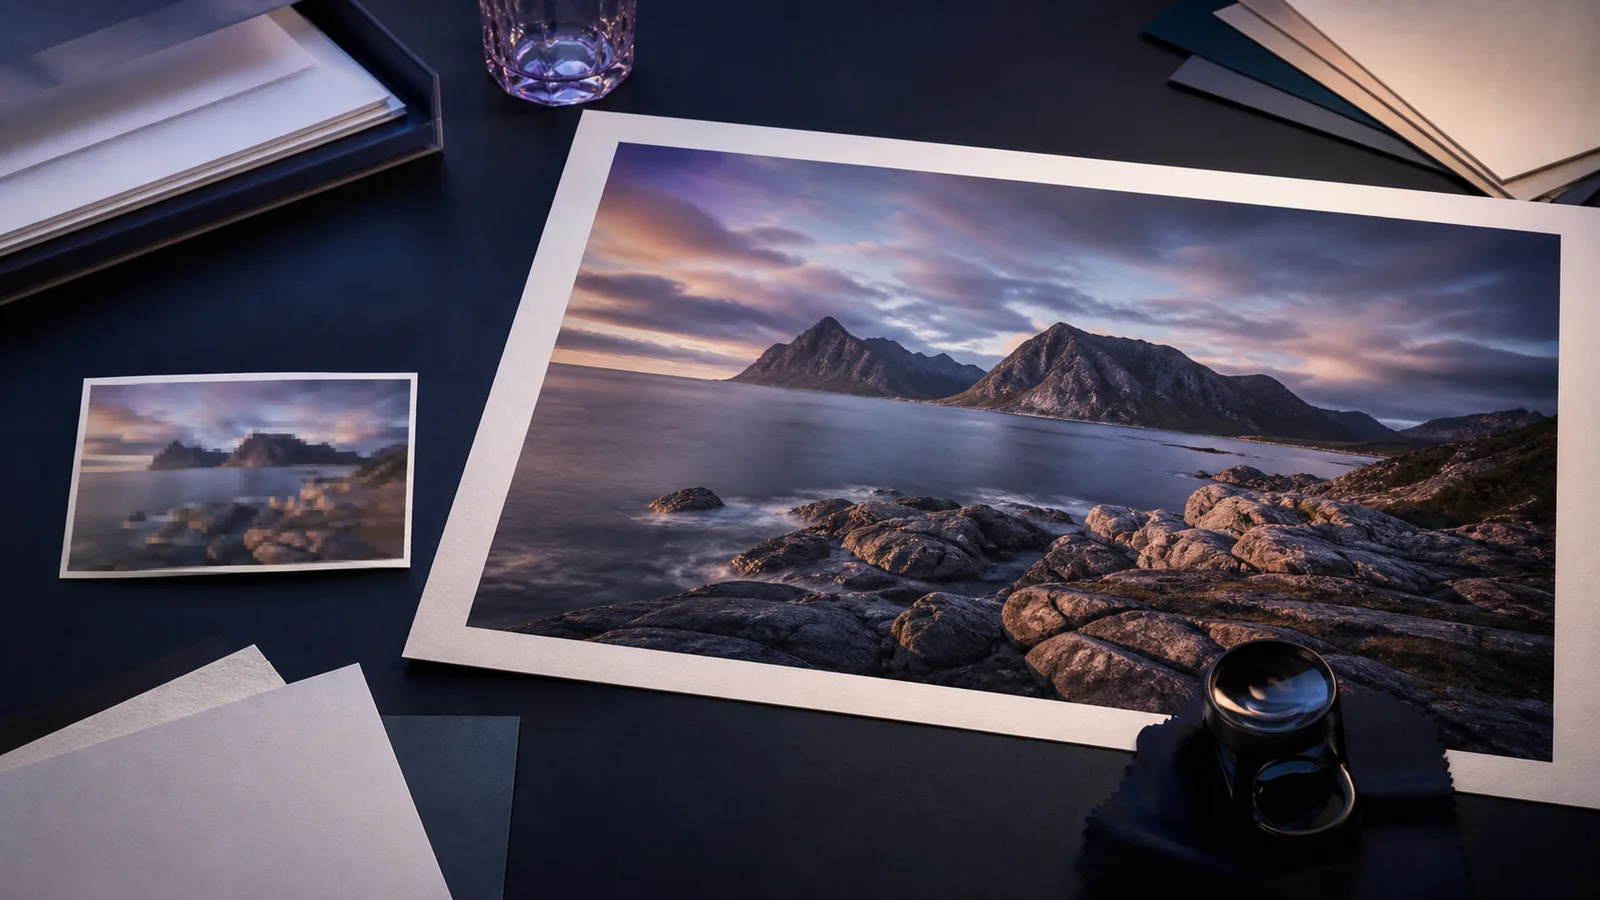
To enlarge an image for printing without losing quality, start with the final print dimensions, calculate how many pixels the printer needs, and compare that requirement with the pixels in your source. If the source is too small, an AI image upscaler can reconstruct plausible edges and texture before you prepare the print file.
The key is to work in the right order. Changing a 72 DPI label to 300 DPI does not create new image detail. Enlarging first and checking at 100% is more useful than relying on a metadata number. This guide shows how to enlarge an image for printing without losing quality while keeping faces, text, line art, and photographic texture under control.
Quick answer: how do you enlarge an image for printing without losing quality?
Use this workflow:
- Decide the physical print size and expected viewing distance.
- Multiply the print width and height in inches by the target PPI.
- Find the original file with the highest pixel dimensions.
- Crop and correct obvious damage before calculating the final size.
- Use AI upscaling only when the source does not contain enough pixels.
- Inspect faces, lettering, edges, and texture at 100%.
- Export a high-quality JPG or PNG that matches the print lab's requirements.
- Order a small proof before committing to a large or expensive print.
You can enlarge an image for printing without losing quality unnecessarily, but no method can guarantee an exact recovery of detail that the camera, scan, or generator never created. AI enhancement produces a more useful print file by predicting plausible detail; it does not uncover a hidden original.
Pixels, PPI, and DPI: what actually controls print quality?
These terms are often mixed together:
- Pixels are the colored samples in the digital image.
- PPI, or pixels per inch, describes how many image pixels are placed into each printed inch.
- DPI, or dots per inch, technically describes how a printer places ink or toner dots.
Image editors and print labs sometimes use DPI when they mean PPI. For image preparation, the important calculation is pixel dimensions divided by print dimensions.
The formula is simple:
Required pixels = print size in inches × target PPI
For example, an 8 × 10 inch print at 300 PPI needs approximately 2400 × 3000 pixels. If your file is only 800 × 1000 pixels, changing its metadata to 300 DPI does not turn it into a 2400 × 3000 image. The printer will either spread the existing pixels across the page or resample them.
Adobe's image resizing guidance separates changing print dimensions from resampling the actual pixel data. That distinction is the foundation of any attempt to enlarge an image for printing without losing quality.
Calculate the pixel dimensions before you upscale
At 300 PPI, common print sizes require approximately:
| Print size | Pixel dimensions at 300 PPI |
|---|---|
| 4 × 6 in | 1200 × 1800 px |
| 5 × 7 in | 1500 × 2100 px |
| 8 × 10 in | 2400 × 3000 px |
| 8 × 12 in | 2400 × 3600 px |
| 11 × 14 in | 3300 × 4200 px |
| 12 × 18 in | 3600 × 5400 px |
| 16 × 20 in | 4800 × 6000 px |
| 20 × 30 in | 6000 × 9000 px |
These numbers are planning targets, not universal pass-or-fail rules. A small photo viewed closely benefits from higher PPI. A large poster viewed from several feet away can often look acceptable with fewer pixels per inch. Paper surface, printer technology, image sharpness, and subject matter also affect perceived detail.
The ON1 Resize user guide explains that print planning begins with physical size and viewing needs, not simply the DPI value stored in the file.
A quick calculation example
Suppose you have a 1600 × 2400 pixel portrait and want an 8 × 12 inch print:
- At 300 PPI, you need 2400 × 3600 pixels.
- Your source provides about 200 PPI at 8 × 12 inches.
- A 1.5× enlargement reaches the 300 PPI pixel target.
This is a moderate upscale. It is much safer than forcing a 400 × 600 thumbnail into the same print size.
Start from the best available source
The easiest way to enlarge an image for printing without losing quality is to avoid throwing away quality before the upscale.
Use sources in this order when possible:
- the original camera file or exported artwork;
- a fresh high-resolution scan of the physical print;
- the largest unedited digital copy;
- a file downloaded from cloud storage;
- a social-media or messaging copy only as a last resort.
Screenshots and chat-app downloads often contain hidden resizing and compression. A file may look large because its canvas dimensions were increased, yet contain little real detail. View it at 100% and check hair, eyes, lettering, fabric, and diagonal edges.
Scan old photographs before enlarging them
If you still have the physical photo, scan it again rather than enlarging an old web copy. Clean the scanner glass, place the print flat, and save an uncompressed or high-quality master. Do not discard the original scan after restoration.
Upscaling can improve resolution and perceived clarity. It does not physically repair a torn print, guarantee historically accurate missing content, or replace careful archival work.
Export AI artwork at its highest native size
For AI-generated art, finish prompt and composition changes before upscaling. Download the highest-quality original, not a preview or screenshot. Keep important typography separate because a generative upscaler may alter letters, symbols, and logos.
Crop before you calculate the final print size
Cropping removes pixels. If you begin with a 4000 × 3000 image and crop away half the frame, the remaining file no longer supports the same print size at the same PPI.
Choose the aspect ratio of the final print first:
- 4 × 6 and 8 × 12 use a 3:2 ratio;
- 8 × 10 and 16 × 20 use a 4:5 ratio;
- 11 × 14 uses a different, less common ratio;
- square prints use 1:1.
Crop composition before deciding how much enlargement is required. Also leave room for bleed or borders when the print lab requests them.
How to enlarge an image for printing without losing quality with SeedVR2
The SeedVR2 online image upscaler provides a browser workflow for JPG, PNG, and WebP files. The current target options are 720p, 1080p, 2K, and 4K.
1. Upload the original image
Use the best source you found. If you have several similar versions, compare their pixel dimensions and visible compression rather than choosing by filename.
For a batch of photos, test one representative image first. A portrait, line drawing, and landscape can respond differently even when their file sizes are similar.
2. Match the target to the required print pixels
Calculate the output you need before choosing a target. A 4K landscape output is suitable for some small and medium prints, but it is not automatically enough for every large print at 300 PPI.
If your required dimensions exceed the current 4K target, use the 4K restoration as a carefully reviewed intermediate master or choose a print workflow designed for larger final dimensions. Do not promise a 20 × 30 inch, 300 PPI print from a tiny source simply because the file says 4K.
The largest target is also not always the most faithful. For a small face or compressed image, compare 2K and 4K. Choose the output that preserves identity and texture most naturally.
3. Check the credit estimate
The interface shows an estimated credit cost before processing. Higher-resolution targets use more processing. Review the estimate and start with one image before committing a large batch. See the pricing page for the current resolution-based usage model.
4. Choose JPG, PNG, or WebP
- JPG is widely accepted by photo labs and can be efficient for photographic images. Use a high-quality export.
- PNG is lossless and useful for graphics, transparency, and line art, although files may be larger.
- WebP is efficient for web delivery, but confirm that the print provider accepts it before using it as the submission file.
The output format should follow the print lab's specification. SeedVR2 does not currently export TIFF, so choose JPG or PNG when a standard print-ready raster file is required.
5. Inspect the result at 100%
To enlarge an image for printing without losing quality, review the pixels that will become visible on paper:
- facial identity and eye shape;
- hair, skin, fabric, foliage, and fine texture;
- small lettering and mathematical symbols;
- straight lines, diagonals, and architectural details;
- halos around high-contrast edges;
- repeating patterns and flat color areas;
- noise that has turned into artificial texture.
Compare against the original, not only against your memory of it. If 4K creates plastic skin or false lettering, keep the more natural 2K version.
6. Prepare a print copy without overwriting the master
Keep three separate files:
- the untouched original or scan;
- the reviewed high-resolution restoration master;
- the final cropped and color-prepared print file.
This separation lets you make a different print size later without repeatedly upscaling or compressing the same file.
Photos, AI art, screenshots, and line art need different checks
Portrait photographs
Faces attract attention immediately. AI enhancement may make a low-resolution face look clearer while subtly changing age, eye shape, teeth, or expression. For family archives and memorial prints, fidelity matters more than maximum sharpness.
Compare the result at both 100% and the intended print size. If a lower target preserves identity better, use it.
Landscapes and textured photographs
Foliage, rocks, water, clouds, and architecture can benefit from added detail, but they can also become crunchy or repetitive. Look for halos, tiled textures, and noise interpreted as leaves or stone.
AI-generated artwork
AI artwork often begins at a modest native resolution and may contain soft microdetail. Upscaling can prepare it for a larger print, but inspect hands, faces, repeating decoration, and background geometry. Keep editable text and logos separate from the raster artwork.
Screenshots, diagrams, and text
Do not rely on generative upscaling to reproduce exact UI text, equations, labels, or logos. Rebuild important text and simple vector elements in a design tool whenever possible. The upscaler can improve the surrounding image, but predicted lettering should not be treated as exact.
Anime, illustration, and line art
Check line weight, flat colors, corners, and diagonal edges. Too much restoration can turn a clean outline into a doubled or wavy line. The guide to fixing diagonal artifacts covers these patterns in more detail.
Avoid sharpening and resampling mistakes
Do not change only the DPI field
Changing 72 DPI to 300 DPI without resampling only changes the calculated physical size. It does not create pixels. This can be useful metadata, but it is not an enlargement method.
Do not upscale several times
Return to the original and create the required size in one controlled restoration pass. Multiple passes can strengthen halos, false texture, and facial changes.
Do not sharpen before AI restoration
Aggressive sharpening can create bright and dark edge rings that the model may enlarge. Use the cleanest source, restore once, then apply only restrained output sharpening if your print workflow requires it.
Do not repeatedly save as JPG
Every lossy save can add compression artifacts. Keep a master and create the delivery JPG once at the end.
Do not ignore viewing distance
A wall print viewed from several feet away does not need to look like a small photo examined at arm's length. Select resolution based on how the print will actually be seen.
Proof the image before ordering a large print
Even after you enlarge an image for printing without losing quality, the monitor cannot perfectly predict paper, ink, surface texture, or lab processing.
Before ordering the final piece:
- confirm the required color space and accepted file format;
- disable automatic lab enhancement if you have already prepared the image;
- check whether the lab crops, fits, or adds borders;
- review the safe area and bleed requirements;
- order a small proof or cropped detail test;
- inspect faces, shadows, saturated colors, and edge sharpness on paper.
A proof is especially important for old family photographs, client work, gallery prints, and AI artwork containing subtle gradients.
Frequently asked questions
Can I enlarge an image for printing without losing quality at all?
No enlargement can guarantee that every missing detail will be recovered exactly. You can prevent unnecessary loss by starting from the best source, calculating the required pixels, using one controlled upscale, and avoiding repeated compression.
Is 300 DPI always required for printing?
No. Many close-viewed photo prints are prepared near 300 PPI, while larger prints viewed from farther away can use fewer pixels per inch. Follow the print provider's specification and consider viewing distance.
Does changing 72 DPI to 300 DPI improve the image?
Not by itself. Without resampling, it changes the relationship between pixels and physical size but does not add image pixels or detail.
How large can I print a 4K image?
A 3840 × 2160 image is about 12.8 × 7.2 inches at 300 PPI, 16 × 9 inches at 240 PPI, or 25.6 × 14.4 inches at 150 PPI. The acceptable choice depends on viewing distance, source quality, and the printer.
Should I use JPG or PNG for printing?
Use the format accepted by the print lab. A high-quality JPG is common for photographs. PNG can preserve graphics and transparency without lossy compression. Do not convert to WebP unless the provider supports it.
Can AI upscaling restore exact text and faces?
It can improve perceived clarity, but generated detail is a prediction. Rebuild important text separately and compare identity-sensitive faces with the original before printing.
Should I upscale before or after cropping?
Crop to the final aspect ratio first, then calculate how many pixels the cropped composition needs. Otherwise you may upscale pixels that will be removed later.
Prepare one proof image before the full print order
The practical way to enlarge an image for printing without losing quality is to calculate first, upscale once, and inspect a proof. Start with the best source in the online SeedVR2 image upscaler, compare 2K and 4K when appropriate, and submit the file only when the printed subject remains faithful to the original.
Related guides: