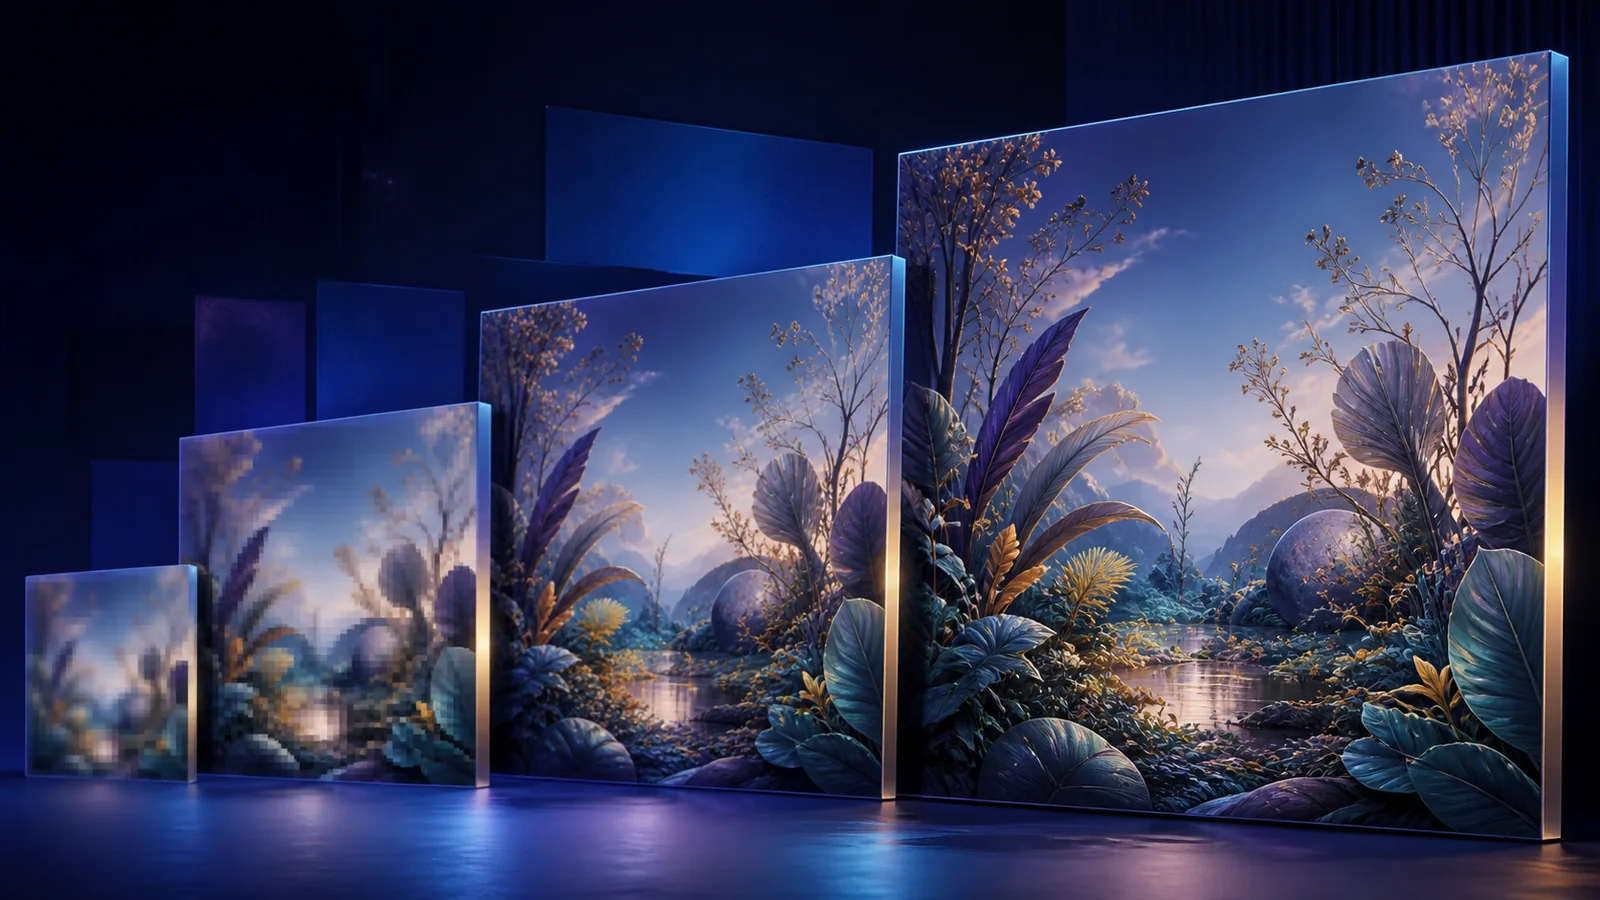
When you upscale AI-generated images, you are enlarging artwork whose details were already synthesized once. That makes the task different from resizing a conventional photo. A generated image may look excellent at its native size while hiding unstable fingers, pseudo-text, repeating textures, or tiny objects that do not survive close inspection. An aggressive upscale can make those weaknesses more obvious or quietly redesign the image.
The safest workflow is to finish the composition first, export the cleanest native file, decide what must remain unchanged, and compare realistic output targets. This guide explains how to preserve style and structure while preparing AI artwork for websites, social crops, client presentations, video, and print.
Quick answer: how to upscale AI-generated images
Use this sequence for a controlled result:
- Choose the final generation before spending time on enlargement.
- Complete inpainting, outpainting, object removal, and composition edits first.
- Download the highest-resolution native export instead of taking a screenshot.
- Inspect faces, hands, text, thin lines, gradients, and repeated patterns.
- Define the final pixel dimensions or delivery use.
- Test the image with an AI restoration model at a conservative target.
- Compare the result with the source at the same displayed size.
- Rebuild important typography and logos as separate design elements.
- Save the original generation and the upscaled master separately.
AI enlargement predicts plausible detail. It can create a cleaner, more useful large image, but it cannot guarantee that every new leaf, pore, fabric thread, or symbol matches an unknowable “true” original. Fidelity matters more than maximum sharpness.
Why AI-generated artwork needs its own upscale workflow
Camera photos begin with light recorded by a sensor. Generated images begin with a model’s visual interpretation. Their low-resolution regions may already contain ambiguity that looks convincing only because it is small.
Common weak points include:
- hands and fingers that merge at native size;
- faces with asymmetric eyes or jewelry that changes shape;
- decorative marks that resemble letters without spelling words;
- windows, tiles, fabric, and foliage with inconsistent repetition;
- gradients that show banding after download or conversion;
- very fine lines that dissolve into the background;
- small accessories that have uncertain geometry;
- compression introduced by preview pages, chat apps, or social platforms.
When you upscale AI-generated images, a restoration model must decide how to represent those ambiguous areas at a larger size. The best result adds coherent detail without changing composition, character identity, palette, or medium.
The official SeedVR project includes image restoration as well as video restoration. Its generative foundation can be useful for AIGC assets, but the output should still be treated as a restored interpretation and reviewed against the source.
Finish the creative decisions before enlargement
Upscaling should be close to the end of the image-making process, not the beginning.
Select the final variation
Do not upscale every generation in a grid. First choose the strongest composition, pose, lighting, and color. View candidates at full native resolution, not only as thumbnails. A thumbnail can hide a malformed hand or a background object that merges into the subject.
Complete structural edits
Perform inpainting, outpainting, background replacement, object removal, and major color changes before you upscale AI-generated images. These operations often regenerate regions. Doing them after enlargement can throw away carefully restored detail or leave mismatched texture along edit boundaries.
Lock the crop and aspect ratio
Decide whether the final asset will be 16:9, 4:5, 1:1, 9:16, A4, or another format. If several crops are required, keep an uncropped upscaled master and derive each delivery version from it. Avoid upscaling a tight crop and later discovering that the design needs more space around the subject.
Download, do not capture
Use the generator’s original download. Browser screenshots can include display scaling, JPEG compression, color conversion, and a smaller pixel count than the native asset. If an image has already traveled through a messaging app or social network, return to the generator or project file.
Decide how large the output actually needs to be
“Make it 4K” is not a complete specification for a still image. A landscape 4K canvas is typically 3840 × 2160 pixels, while a vertical asset, square post, web hero, print, or crop has different requirements.
| Final use | Practical planning question | Recommended approach |
|---|---|---|
| Website hero | What is the largest rendered CSS size and device density? | Create a clean master, then export an optimized WebP or JPG |
| Social post | Which aspect ratio does the platform require? | Crop first, then export to the platform dimensions |
| Presentation | Will the image fill a 16:9 slide or only part of it? | Match the slide usage; avoid unnecessary giant files |
| Video | Is the timeline 1080p, 2K, or 4K? | Match or slightly exceed the final frame dimensions |
| What are the physical size and effective PPI? | Calculate pixels from dimensions; use the dedicated print workflow |
For print, read how to enlarge an image for printing without losing quality. That guide covers physical dimensions, PPI, bleed, and proofing. The present article focuses on the distinctive fidelity risks of generated artwork.
Preflight checks before you upscale AI-generated images
Inspect the native file at 100% and write down what must not change. This “invariant list” makes the comparison objective.
Faces and identity
Check eye shape, iris direction, teeth, hairline, ears, glasses, jewelry, and age. If a face is already ambiguous, enlarge conservatively. A sharper face is not better when it becomes a different person.
Hands and anatomy
Count fingers and inspect how they contact objects. Upscaling can clarify a boundary that exists, but it is not the right tool for repairing a structurally incorrect hand. Inpaint or regenerate it before enlargement.
Text and logos
Most text-like marks inside generated art should be treated as texture. An upscaler may make them more defined without making them correct. Replace packaging copy, signs, captions, UI labels, and brand marks with real vector or raster typography in a design editor.
Patterns and thin geometry
Inspect tiles, windows, grids, striped clothing, chains, railings, eyelashes, wires, and tree branches. Look for spacing that changes unexpectedly. These areas reveal whether the larger output is preserving structure or improvising.
Color and gradients
Check skies, studio backdrops, skin transitions, shadows, and glows for banding. Save a high-quality source format and avoid repeated JPEG exports before restoration.
How to upscale AI-generated images with SeedVR2
The SeedVR2 online image upscaler handles common raster assets without requiring a local installation. Use a controlled test rather than treating the largest target as an automatic choice.
1. Upload the native image
Open image mode and upload the highest-quality JPG, PNG, or WebP available. Keep the untouched generation. If your image contains transparency, verify how the source and intended output handle the alpha channel before committing a production asset.
2. Choose the target from the delivery need
The current workflow offers 720p, 1080p, 2K, and 4K targets. Start with the smallest output that satisfies the final layout. A clean generated image can often support a substantial enlargement, but tiny faces, pseudo-text, and uncertain geometry become riskier as the jump increases.
If the source is 1024 pixels wide and will appear as a 1200-pixel web card, a huge 4K file may provide no visible benefit after web optimization. If it will fill a 4K video frame or support a large crop, the larger master is easier to justify.
3. Check the credit estimate
The interface shows estimated usage before processing. Compare targets only when they serve a real decision. The pricing page explains current image and resolution usage.
4. Select an output format
PNG is useful for lossless intermediate work and graphics that need clean edges. JPG can be efficient for photographic artwork without transparency. WebP offers a strong size-to-quality balance for modern websites. Preserve one high-quality master, then make delivery copies separately.
5. Process and compare at equal size
Place the source and result side by side at the same displayed dimensions. First ask whether the larger file produces a cleaner representation, then zoom to 100% to inspect the newly visible detail.
Verify:
- face and character identity;
- finger count and object contact;
- silhouette, pose, and camera perspective;
- placement of leaves, windows, jewelry, and other small elements;
- consistency of brushwork, grain, or photographic texture;
- color palette and local contrast;
- halos around hair, branches, architecture, and type-like marks.
6. Keep the lower target when it is more faithful
If 4K adds crunchy texture, changes a face, or turns painterly strokes into false photographic detail, compare 2K or 1080p. To upscale AI-generated images successfully, choose the result that preserves the original visual logic—not the one with the strongest sharpening.
Adapt the workflow to the image style
Photorealistic generations
Inspect skin, eyes, hair, teeth, fabric, reflections, and shallow depth of field. Natural skin includes varied texture; a uniform pore pattern looks synthetic. Preserve intentional lens blur rather than sharpening every background object.
Illustration and painterly artwork
Brushwork, edge softness, paper grain, and shape simplification are part of the style. A model that adds realistic microtexture everywhere can destroy the medium. Compare the silhouette and large value shapes before judging small detail.
Anime and line art
Prioritize line continuity, flat-color boundaries, eyes, hair strands, and small accessories. Look for doubled outlines, uneven line weight, halos, and gradients introduced into areas that should remain flat.
Product and interior concepts
Check straight edges, repeated shelves, hardware, labels, reflections, and perspective. An attractive larger render is not production-accurate if doors, handles, or packaging geometry change.
Surreal and abstract images
Define which ambiguity is intentional. Restoration should not “correct” dreamlike forms into familiar objects or replace soft atmospheric transitions with literal texture.
Common mistakes when enlarging generated art
Upscaling before the composition is final
You will waste time and processing on pixels that later get cropped or regenerated. Complete structural decisions first.
Using a social-media copy
Platforms may resize and recompress the image. Return to the original download whenever possible.
Running multiple enhancement passes
Repeated restoration can amplify invented texture and ringing. Start from the native generation for every comparison.
Expecting exact typography
Sharper pseudo-letters are still pseudo-letters. Rebuild critical text rather than asking the upscaler to guess spelling.
Adding strong sharpening after restoration
This can create bright or dark outlines around faces, leaves, and buildings. Evaluate the restored result before applying any finishing contrast.
Deleting the original
Keep the native generation, edited source, upscaled master, and delivery exports as separate files. That preserves creative provenance and makes later revisions possible.
A final quality-control checklist
Before publishing or delivering the result, confirm:
- The composition, crop, pose, and perspective are unchanged.
- Faces still represent the same characters.
- Hands and object interactions remain structurally correct.
- Text and brand elements were recreated where accuracy matters.
- Repeated patterns do not contain new breaks or duplicates.
- The original medium—photo, paint, ink, line art, or 3D—still reads correctly.
- The larger output provides a visible benefit at the final display size.
- The master has not been repeatedly compressed or restored.
- The original generation remains archived separately.
Frequently asked questions
Can I upscale AI-generated images without losing quality?
You can increase resolution while avoiding unnecessary compression, but “lossless” does not describe predicted detail. Compare structure, identity, and style with the native image. A faithful, slightly softer result is preferable to a sharp reinterpretation.
Should I upscale before or after editing an AI image?
Complete generation, inpainting, outpainting, major retouching, and crop decisions first. Upscale the final composed image, then add precise typography and export-specific finishing.
Can an AI upscaler fix hands and faces?
It can clarify features that are already coherent. It cannot guarantee correct anatomy or identity when the source is structurally wrong. Repair those regions before enlargement.
Will upscaling fix generated text?
No reliable workflow can infer exact wording from malformed symbols. Replace important text and logos with correctly typeset elements after restoration.
Is 4K always the best target?
No. The right target comes from the final use and source quality. A web card may need far fewer pixels, while a 4K video background or crop-heavy design may justify a 4K master.
Which format should I export?
Use PNG for a lossless working file or clean graphic edges, JPG for efficient photographic delivery, and WebP for optimized modern web use. Keep a high-quality master before making smaller delivery files.
Enlarge one final image, then inspect what changed
The reliable way to upscale AI-generated images is to lock the composition, preserve the native export, define the final use, and compare a realistic target against an invariant checklist. Try the final artwork in the SeedVR2 image upscaler, then approve it only when the larger result retains the same style, structure, and identity.
Related guides: