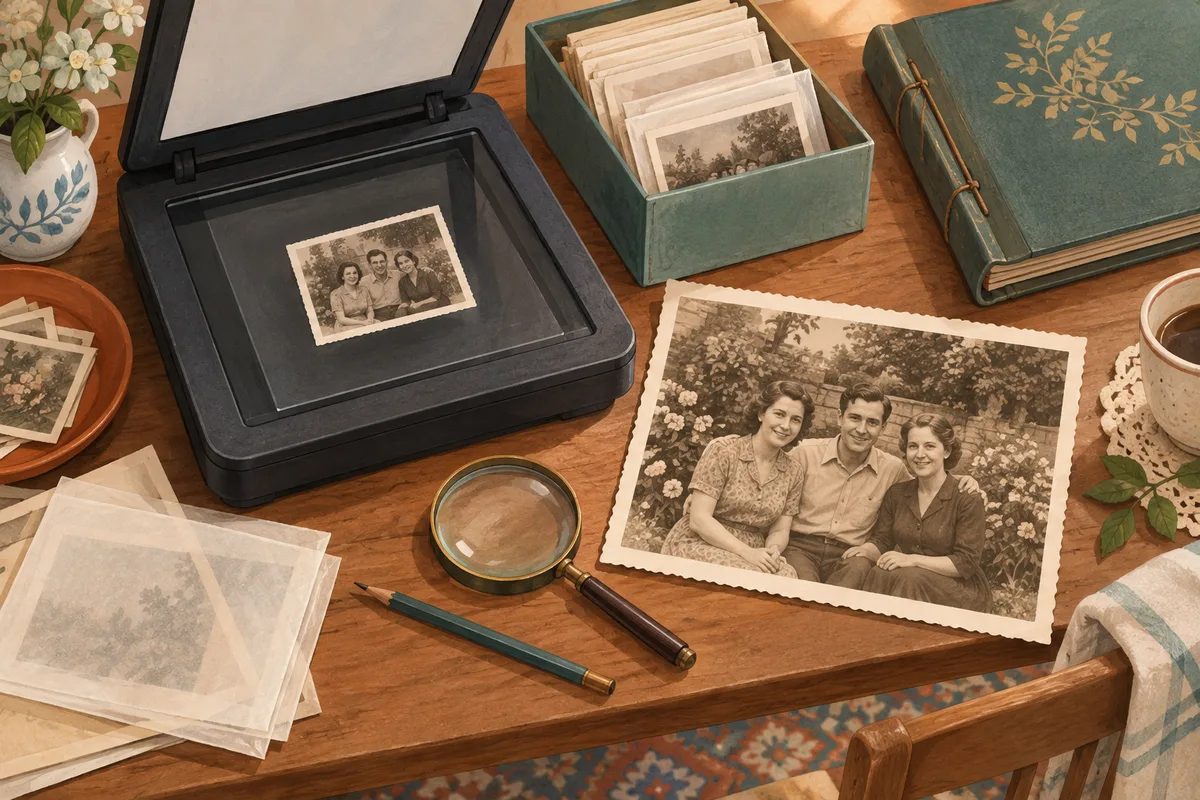
An old print can hold a familiar expression in a very small space. After scanning and enlarging it, you may discover dust, soft detail, and a crease running directly through someone's sleeve. The tempting response is to press every restoration button. The better starting point is a scan you can always return to.
To restore and upscale scanned old photos, capture the best source, preserve an untouched scan, repair a working copy, and enlarge only when the intended use needs more pixels. Compare faces and small details with the scan throughout. A more polished portrait is not necessarily a more faithful one.
The cover is a concept illustration with fictional people, not an archival photograph or a SeedVR2 before-and-after result.
Make the scan worth enlarging
If you still have the physical print, inspect it before processing an old digital copy. A new scan can retain information that a tiny email attachment discarded years ago.
Prepare the scanner glass according to its manual. Handle the print gently and avoid forcing a brittle album or stuck photograph flat. Keep the full image and its edges in a master scan; make straightening and crop decisions on a copy.
The Library of Congress personal scanning guide distinguishes grayscale and color capture from two-tone document scanning. Use a photographic mode, not a black-and-white text mode that reduces the picture to solid black and white. A color scan can also retain the existing tone of a sepia print.
Preview the scan and inspect focus, reflections, clipped bright areas, and shadow detail. If using a camera instead of a scanner, keep it parallel to the print, use even light, avoid glare, and check that the whole surface is in focus. Reshoot a reflection rather than asking AI to guess what was underneath it.
Choose scan resolution from the intended use
For ordinary small prints, the Library of Congress guide gives 300 dpi/ppi as general guidance and 400 or 600 for planned enlargements. Treat these as starting points alongside your scanner's capabilities and the print's detail, not proof that a larger file contains more real information.
The calculation is straightforward: print size in inches × scan PPI = approximate pixel dimensions. These examples show the arithmetic, not measured scanner performance:
| Physical print | Scan setting | Approximate file dimensions |
|---|---|---|
| 4 × 6 inches | 300 PPI | 1200 × 1800 pixels |
| 4 × 6 inches | 600 PPI | 2400 × 3600 pixels |
| 2 × 3 inches | 600 PPI | 1200 × 1800 pixels |
A 4 × 6 print scanned at 600 PPI provides enough pixels for an 8 × 12 layout at 300 PPI before cropping. It may not need AI enlargement at all. A tiny portrait cropped from that scan may still be too small for its own page.
Higher scan settings eventually capture more paper texture or larger files without revealing more useful scene detail. Check the actual scan, and prefer the scanner's documented optical capabilities over an advertised interpolated size. Changing a file's PPI label afterward does not rescan the print.
Keep an untouched master and make a working copy
Save the unedited scan at the highest useful quality your workflow supports. A lossless TIFF is one option when available. If the scanner only offers JPEG, choose a high-quality original and avoid repeatedly saving over it.
Make a separate working file for edits. Scan or photograph handwritten notes on the reverse separately when they add context, and record uncertain dates as uncertain. An image-enhancement model cannot tell you who the people are or what a damaged inscription originally said.
SeedVR2's image upload currently accepts JPG/JPEG, PNG, and WebP. Keep a TIFF master in your archive and export a PNG or high-quality JPG working copy before uploading. Renaming a .tif extension to .png does not convert the file. Preserve the original dimensions during conversion unless you deliberately need a crop.
Repair damage before deciding what to upscale
Separate three jobs: preserving the scan, retouching visible damage, and preparing an enlarged viewing copy. They do not have to be performed by the same tool.
| Problem in the scan | Practical next step |
|---|---|
| Dust introduced by the scanner glass | Prepare the scanner properly and scan again |
| Small spots or scratches | Retouch a duplicate in an image editor and check nearby detail |
| Fading or a color cast | Adjust tone and color on a copy while comparing with the print |
| A torn or missing area | Keep the original record; identify any invented reconstruction as an interpretation |
| Softness from too few pixels | Test enlargement after preparation |
| A face that was already out of focus | Set modest expectations and compare every output with the source |
Remove obvious scanning mistakes first. Otherwise, an enlargement may devote its attention to making a piece of dust remarkably well defined.
Local retouching and color correction belong in your image editor. The SeedVR2 workflow below is for enlargement and restoration testing; it does not provide a brush for repairing tears or a guaranteed old-photo colorization mode. Keep colorization separate from faithful restoration, especially when the original colors are unknown.
Upscale one prepared photo with SeedVR2
Choose a photograph with a recognizable face and a textured object such as a jacket or fence. Open the SeedVR2 image upscaler, select image mode, and upload the prepared PNG, JPG, or WebP copy.
Select a suitable target from the displayed 720p, 1080p, 2K, and 4K options, then review the credit estimate. Check the downloaded file's dimensions: targets are based on the source proportions, not a custom print width and height. A target below the source size is not a command to make the image smaller.
For a useful comparison, place the unenhanced working copy and the result at the same displayed size. You can also compare an ordinary resized copy in your editor. Do not add heavy sharpening to every candidate before deciding which one preserves the photograph best.
If the scan already supplies enough pixels, keep it unless the restoration test offers a visible benefit. More processing is optional; keeping a good scan is a successful result.
Compare the face before admiring the texture
Start with identity and expression. Check the eye shape, mouth, nose, hairline, and the direction of the gaze. A face can look convincing while no longer matching the person in the scan. A familiar relative's opinion may help, but the preserved image remains the visual reference.
Then inspect clothing, jewelry, hands, signs, and repeated patterns. Count buttons or fence rails when they are visible. Look for bright outlines, newly invented pores, altered letters, and scratches transformed into seams.
Use two views: the final page or screen size, and equal-sized crops at 100%. If the enlarged result changes a meaningful feature, reject it. Trying another reasonable target can be worthwhile, but do not keep enlarging a rejected output until its new details look normal.
The upscaling versus sharpening guide helps distinguish edge contrast from added dimensions. Neither is a reliable way to recover exact missing handwriting or a face absent from the original information.
Save an archive copy and a useful sharing copy
Use filenames that distinguish the scan from the edits, such as family-garden-scan.tif, family-garden-retouched.png, and family-garden-enhanced.jpg. Keep a short note of what you changed. The Library of Congress digital photograph guidance recommends descriptive organization, copies in different places, and checking that saved files remain readable.
For a photo book or framed print, use the printing enlargement guide to calculate the final crop and dimensions, then inspect a small proof. For family messages, export a convenient sharing copy from the selected master; keep the archive outside that lossy sharing loop.
If you are also sorting tapes and camera clips, the old-video restoration guide covers the separate issues of aspect ratio, interlacing, and motion.
Frequently asked questions
Is it better to rescan or use AI on an old JPEG?
Rescan first when the physical print is available and the JPEG is small or heavily compressed. AI can only work from its input. If the print is unavailable, preserve the best digital copy and test a separate version.
Should I scan at 300 or 600 PPI?
Choose from the physical print size, intended output, scanner capability, and visible detail. The examples above show why 600 PPI can be useful for enlarging a small print. It will not correct focus that the original photograph never captured.
Can SeedVR2 upload a TIFF scan?
The current image upload accepts JPG/JPEG, PNG, and WebP. Export a compatible working copy using an editor and keep the TIFF master separately. Check the copy's dimensions before processing.
Can AI restore a missing face or the exact original colors?
It may generate a plausible interpretation, but cannot verify information absent from the source. Preserve the untouched scan and label creative reconstructions or colorized versions accordingly.
Start with one photograph you know well
Prepare a clean scan, test one photo with SeedVR2, and check the familiar expression before the sharpness. A useful enlargement makes the memory easier to see while keeping a clear path back to the original.