The Pixel Clinic · Visit 01: the family archive
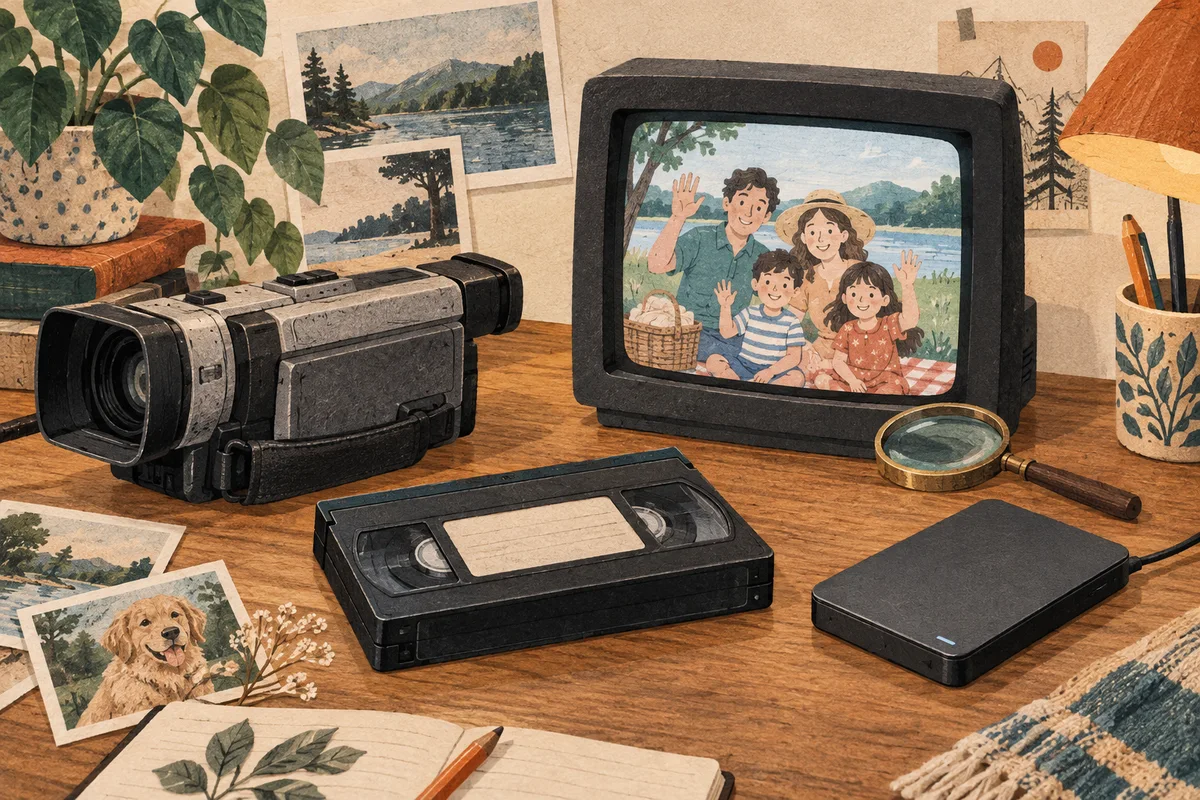
You find a family video on an old hard drive. The people are familiar. Their faces require a little detective work. Someone moves the camera and, briefly, the entire family joins the Impressionist movement.
Learning how to restore old videos starts with that particular file—not with a promise to turn every birthday party into a pristine 4K production. A useful restoration makes the footage easier to watch while keeping the people, movement, and atmosphere recognizable. Your uncle does not need a surprise skincare campaign.
This guide takes you from finding a decent source to saving a better viewing copy. The cover and diagrams are illustrations, not SeedVR2 processing results.
Find the file that has travelled the least
Before processing anything, look for the camera original, a direct tape transfer, or an early editing export. A copy downloaded from a family chat may already have been resized and compressed several times. Sending that copy through an upscaler cannot bring back the information discarded along the way.
If several versions survive, compare the same moment. File size is a clue, not a verdict: a large file can contain an already-compressed image. Look at faces, motion, and small details, and check that the clip plays from beginning to end.
Make a separate working copy. Keep the original filename and any useful context—approximate year, location, people—in a small text note. “Birthday-final-FINAL-2.mp4” has probably done enough archival work for one lifetime.
If the recording is still on a physical tape, have it digitized first. The online tool processes media files; it cannot read the cassette in your desk drawer. Broken playback, missing frames, or damaged transfers also need attention before enhancement.
Work out what “blurry” means in this clip
Pause during movement, then watch the same passage at normal speed. Three common defects call for different first steps.

Diagram: 1 — comb-like edges; 2 — soft detail; 3 — block-shaped artifacts. These are simplified defect examples.
| What you notice | What to check first |
|---|---|
| Thin horizontal teeth around moving people | Whether the transfer is interlaced and needs proper deinterlacing |
| Smooth but indistinct faces and objects | Focus, motion blur, source resolution, and whether a better copy exists |
| Rectangular blocks in movement or shadows | Compression history and the quality of the available source |
Deinterlacing and upscaling are separate operations. Tools such as FFmpeg provide dedicated deinterlacers, including yadif. If your source is interlaced, prepare a correctly deinterlaced working copy using suitable video software before testing restoration. Do not apply that step blindly to footage that is already progressive.
If compression blocks are the main problem, the separate pixelated video guide explains that diagnosis in more detail. Upscaling is not a substitute for recovering a less-damaged source.
Let a 4:3 video remain 4:3
Older recordings often belong inside a narrower frame. Black bars on a modern television are not evidence that the restoration failed.
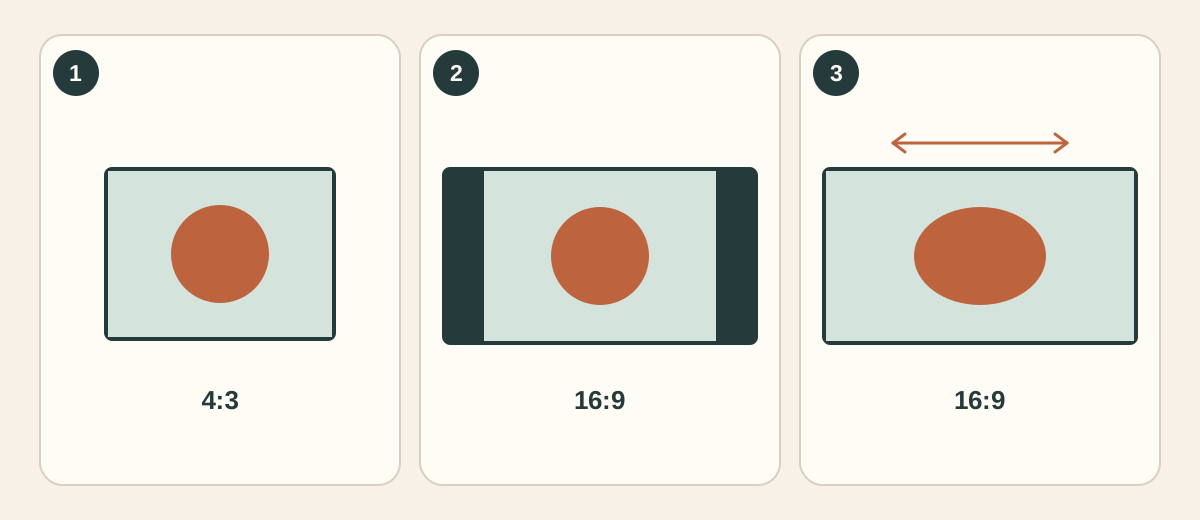
Diagram: 1 — original proportions; 2 — proportions preserved with side bars; 3 — stretched to fill the screen. The circle makes the distortion easy to spot.
Check how the source is meant to be displayed before cropping or resizing it. Some older video formats use non-square pixels, so the stored dimensions alone do not tell the whole story. Use the original display aspect ratio or a reliable reference when preparing the file.
Choose deliberately between keeping the full image with bars and cropping some of it away. Stretching everyone sideways is rarely the family makeover you were looking for. Inspect the exported result too: a correct preview does not guarantee that a later export preserved the same display settings.
Audition ten seconds before restoring an hour
Choose a short excerpt with someone turning, a camera pan, and a difficult detail such as hair, patterned clothing, or a date stamp. A motionless wall is an extremely cooperative test subject. It is also not the video you are trying to save.
Upload the excerpt to the SeedVR2 video restoration tool. Select a target offered by the interface, such as 720p or 1080p for a modest starting test when appropriate for the source. For larger viewing needs, compare the available 2K or 4K target rather than assuming the largest setting wins.
Review the displayed credit estimate before starting. When processing finishes, download the result and compare it with the original at the same displayed size. A tiny original beside a giant output is a persuasive layout, but a poor comparison.
Keep each experiment tied to its source and target, for example:
family-picnic-original.mp4
family-picnic-test-1080p.mp4
family-picnic-viewing-copy.mp4
Do not repeatedly feed an enhanced result back into the tool. Reuse the prepared source if you want to compare another target. The 4K upscaling guide can help when deciding whether the larger output serves a real viewing need.
Watch the result, not just the flattering frame
Play the test at normal speed. Then pause at a few difficult moments and ask:
- Does a familiar face remain the same person as it turns?
- Do hair, clothing, and background textures stay coherent across frames?
- Does the date stamp still say what the source says?
- Are edges cleaner without conspicuous halos or waxy skin?
- Are timing and audio still acceptable in the downloaded file?
AI predicts plausible detail. It cannot verify what an unreadable face or sign originally looked like. When accuracy matters, keep the source as the reference and identify the new file as enhanced.
A slightly softer copy can be the better restoration. If a sharp output adds strange features, try a more modest target or keep the original passage. There is no prize for making every pore visible at a picnic filmed decades ago.
Save the memory, and keep your way back
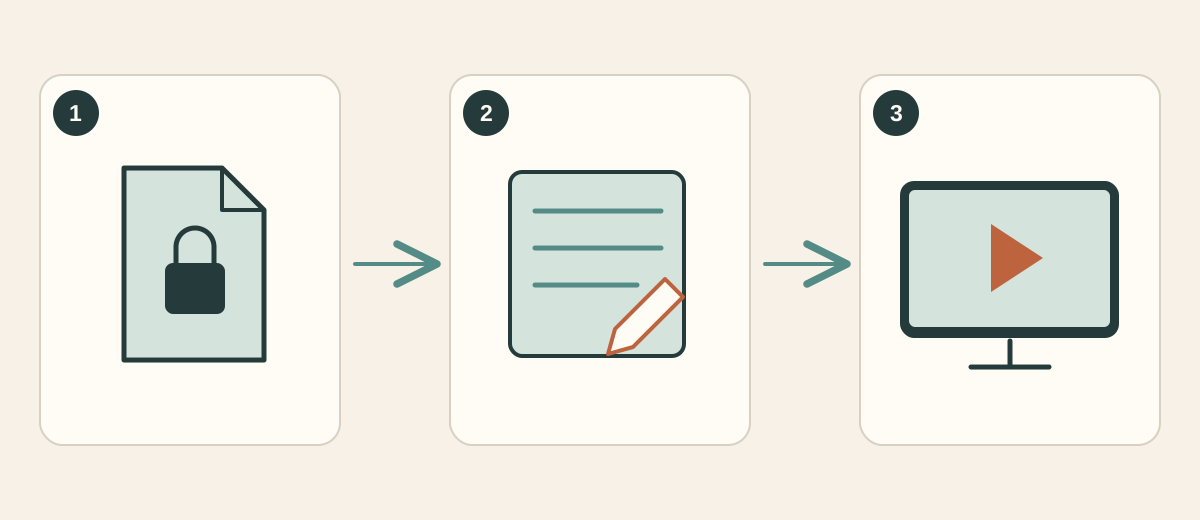
Diagram: 1 — preserved original; 2 — prepared working copy; 3 — viewing copy. Enhancement adds a branch, not a replacement for the source.
Once the short test looks worthwhile, apply the same preparation to the longer footage. Check the full download for scene changes, missing sections, framing, and audio. Keep another copy of the original somewhere separate from the working drive.
Start with the clip you actually want to watch again: try a short old-video restoration, then sit through the result. If it feels more comfortable to watch and still looks like your family, that is a useful improvement.
More from The Pixel Clinic: Anime video and line art · Product images that stay true to the product.